
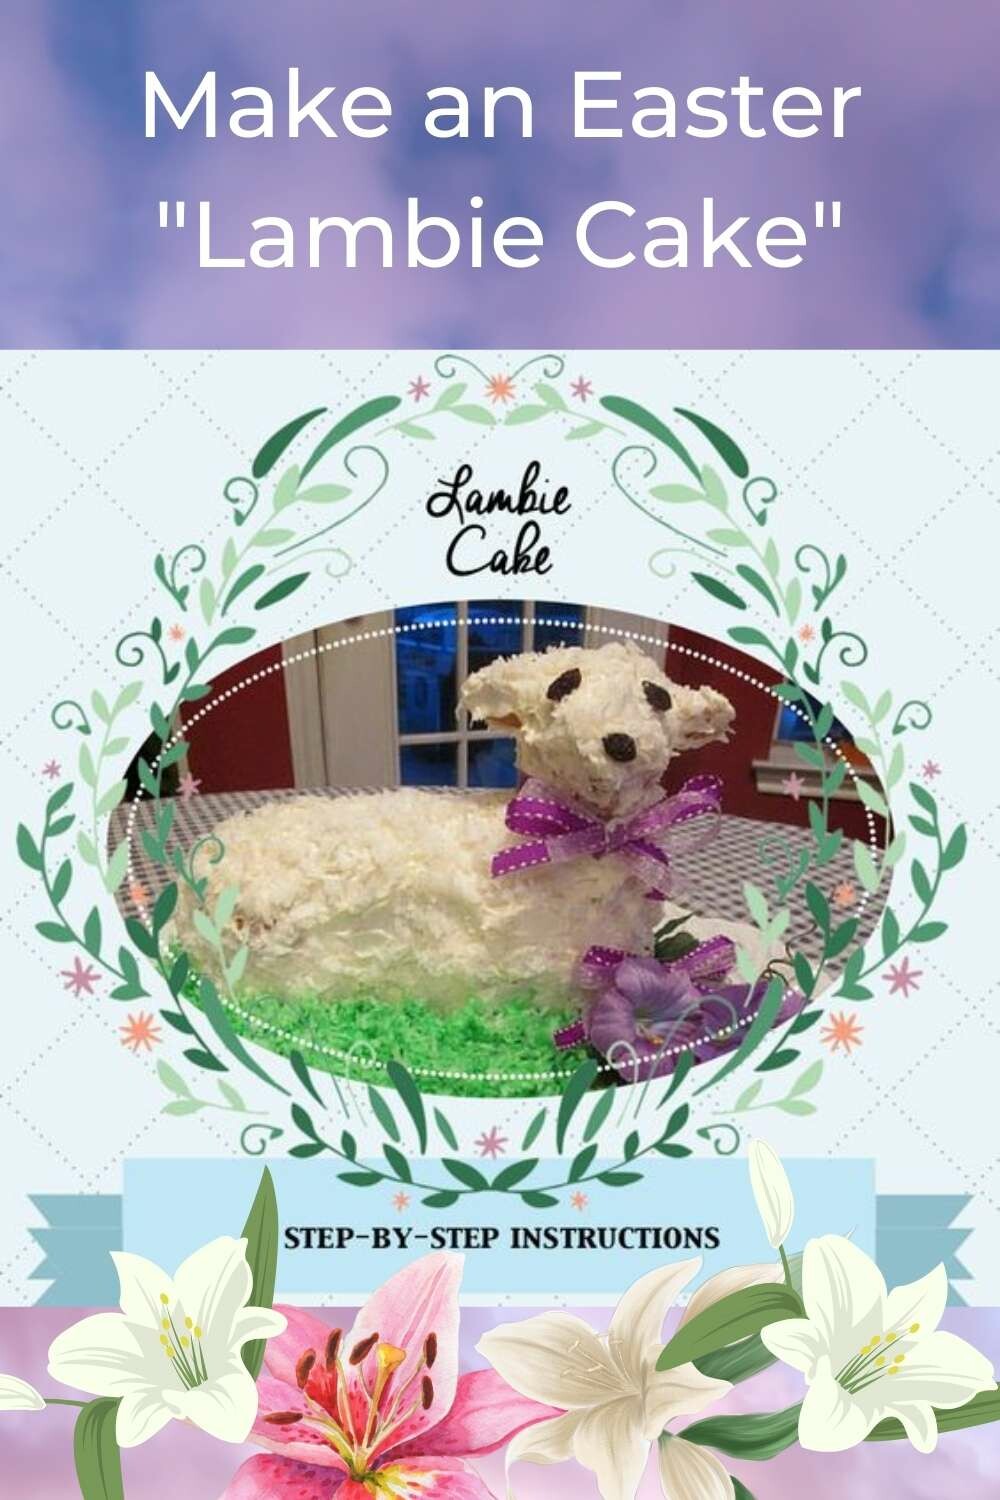
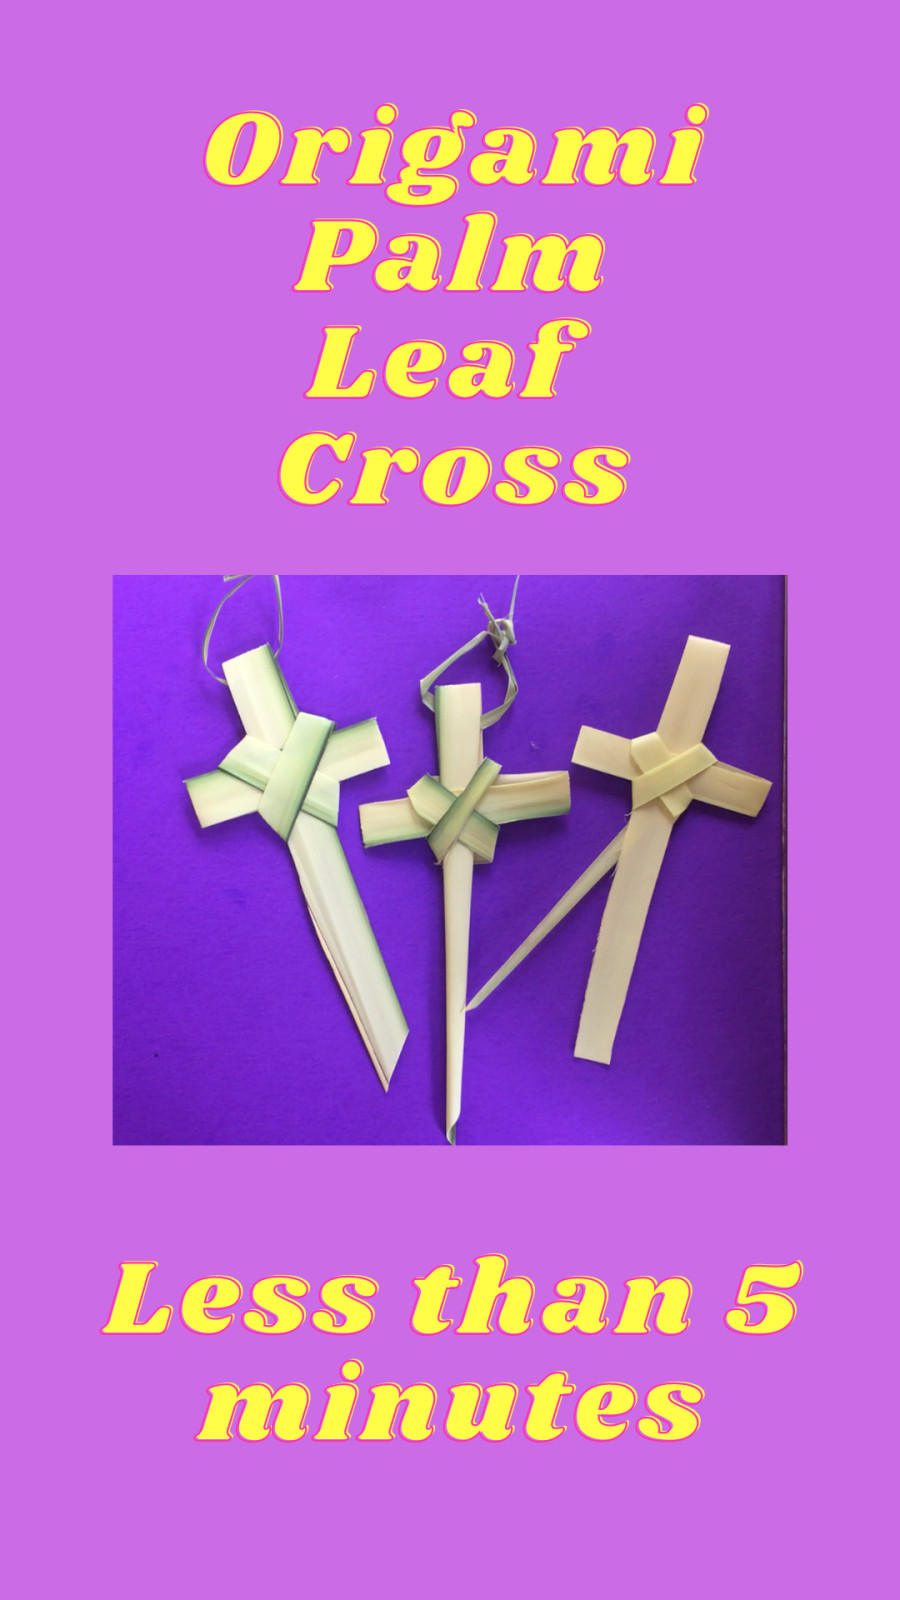
When a respected co-worker shared that she baked an Easter "Lambie Cake" for her granddaughter every year, I KNEW I wanted this same tradition for my children. My kids had all the springtime fun of baskets and eggs hunts, but my husband and I were serious about communicating the true meaning of this "Holy-Day." We took them to Good Friday service and Easter service, read from the Bible and watched many traditional Easter movies.
One thing that has stood out to them, I think, is Lambie Cake. I will share my tips and tricks to making it. PLEASE understand this, though. As a health coach, I always try to make things as healthy as possible, but for this celebratory cake, homemade cake batter doesn't cut it! A homemade pound cake tends to be too soft to keep it's shape. Alas, I gave up and went totally store-bought for this little lamb. But don't worry! This confection is so delicious that you will be fortunate to get more than one thin slice. Won't hurt in the grand scheme of things, I think.
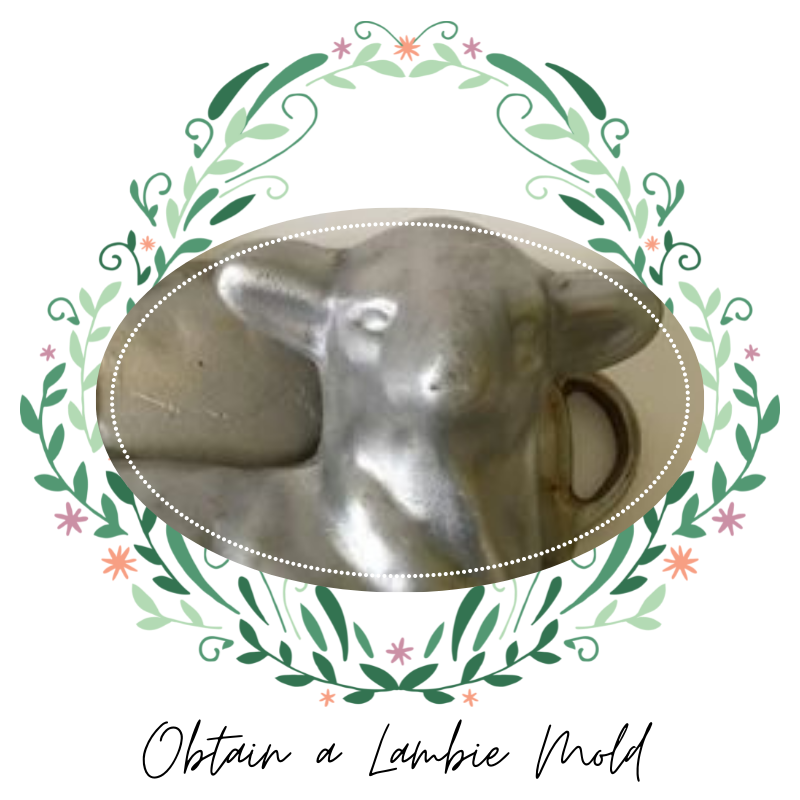
Step 1 - Obtain or borrow a lamb cake mold. I bought mine 22 years ago and it was imported from Italy. See links if you need to buy one. Here are two to choose from. Hurry as overnight delivery is not available! Follow instructions for seasoning or flour/buttering the inside.
Lambie 1 - great price
Lambie 2 - this is like mine - lasts forever
Step 2 - Gather all your supplies!
- yellow pound cake mix (must be pound cake!)
- store bought or homemade cream cheese frosting
- sweetened coconut shreds
- green food colorant for coconut "grass" to make lambie comfortable
- raisins for eyes and nose
- toothpicks (to hold in eyes and nose
- 14 to 16 inch platter
- optional: lace paper doilies for platter
- optional: ribbon for lamb's neck and a silk flower for platter
- optional: lemon extract or Young Living Vitality* lemon essential oil for a lemon flair in the pound cake.

Step 3 - Hear me now because this can be confusing. You pour ALL the batter you can into the front piece of the mold, that is, the piece that has the lamb's face. Do not overfill. You will likely have a little bit of batter left. Place the empty back piece of Lambie mold on top. The cake will rise up to fill the back mold. **Make sure you seasoned the mold according to instructions and dust with oil and flour.
Bake at 350 degree (US) for 30 minutes OR according to your mold's directions. Pull Lambie out of the oven and carefully lift off rear piece. If the cake does not have a nice light golden brown color, put the rear piece back on and put back in over for another 5 minutes. It should be perfect. Pull out of oven, take the rear piece off again, check color and allow to cool for 30 minutes before attempting to release it from the front (facial) mold. If you attempt to release too early, one of the ears or the nose may fall off. Be patient!
Step 4 - Once it is released from the mold, place on doilied platter and allow to cool thoroughly before icing.

Step 5 - Cover the entire lamb with homemade or store-bought cream cheese frosting. Be very gentle with the ears and nose. Then, press coconut by hand all over cake.
PRO-TIP 1: If Lambie's bottom is not perfectly flat, trim a super thin piece off the bottom with a sharp knife. Then, place a strip of icing on Lambie's bottom to help keep him stable.
PRO-TIP 2: Slip pieces of waxed or parchment paper underneath Lambie while frosting. Pull out when frosting is completed for a neat and clean presentation on the platter.
Step 6 - Raisin eyes and nose tend to fall off. Therefore place a raisin on top of half a toothpick to keep eyes and nose on. CAUTION: Before serving any portion of Lambie's head, pull these out or someone could bite on them! Tie a ribbon around Lambie's neck, dye some additional coconut green and sprinkle around edge of Lambie on platter. Finish with a flower placed by Lambie's feet.
PRO-TIP: Easy way to make green coconut grass? Place about a half-cup to a cup of coconut in a zip-lock baggie with one drop of green dye. Mash bag with hand and add drops of food coloring until desired color is achieved.
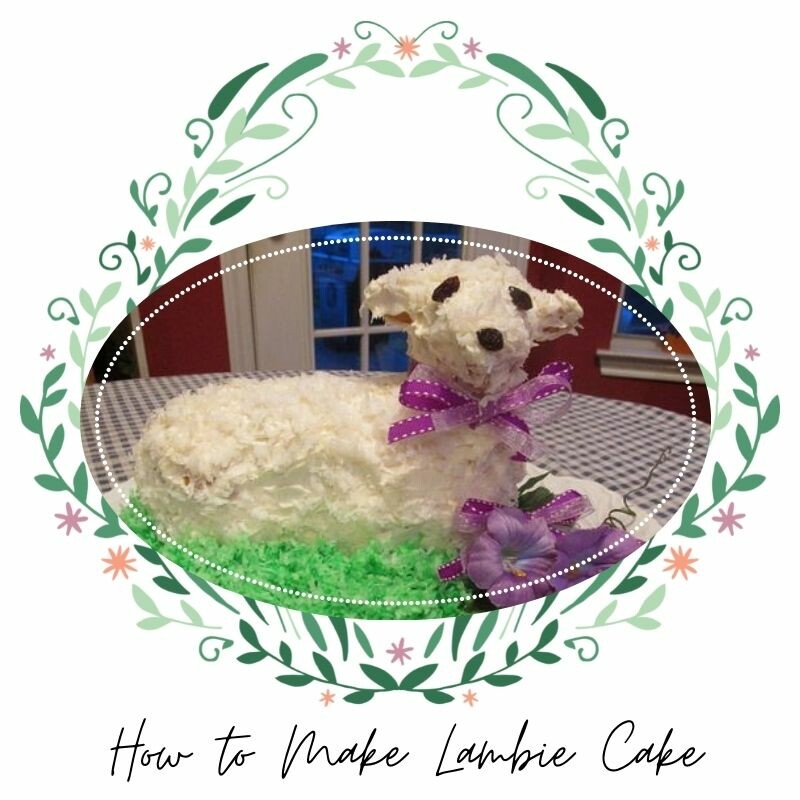
This beautiful cake is delicious and may serve as a lovely centerpiece or decoration for Easter lunch or dinner. Enjoy!


0 Comments